

· By Erin Walsh, Canine Enrichment Trainer
How to Make a Snuffle Mat: A DIY Guide
Every enrichment trainer I know has made a snuffle mat by hand at some point, usually the night before a class when they needed one and the shops were shut. It is a genuinely satisfying project, and a homemade mat works. I want to walk you through the real version of it, the one that includes the sore fingers and the fleece offcuts all over the floor, rather than a tidy list that skips the parts that actually matter.
So this guide is honest in both directions. I will give you the full method, the true time and cost, and the mistakes that turn a promising afternoon into a floppy mat that does not hold food. Then I will be straight about the things a DIY mat cannot do that a purpose-built one can, because that gap shows up after a few washes rather than on day one.
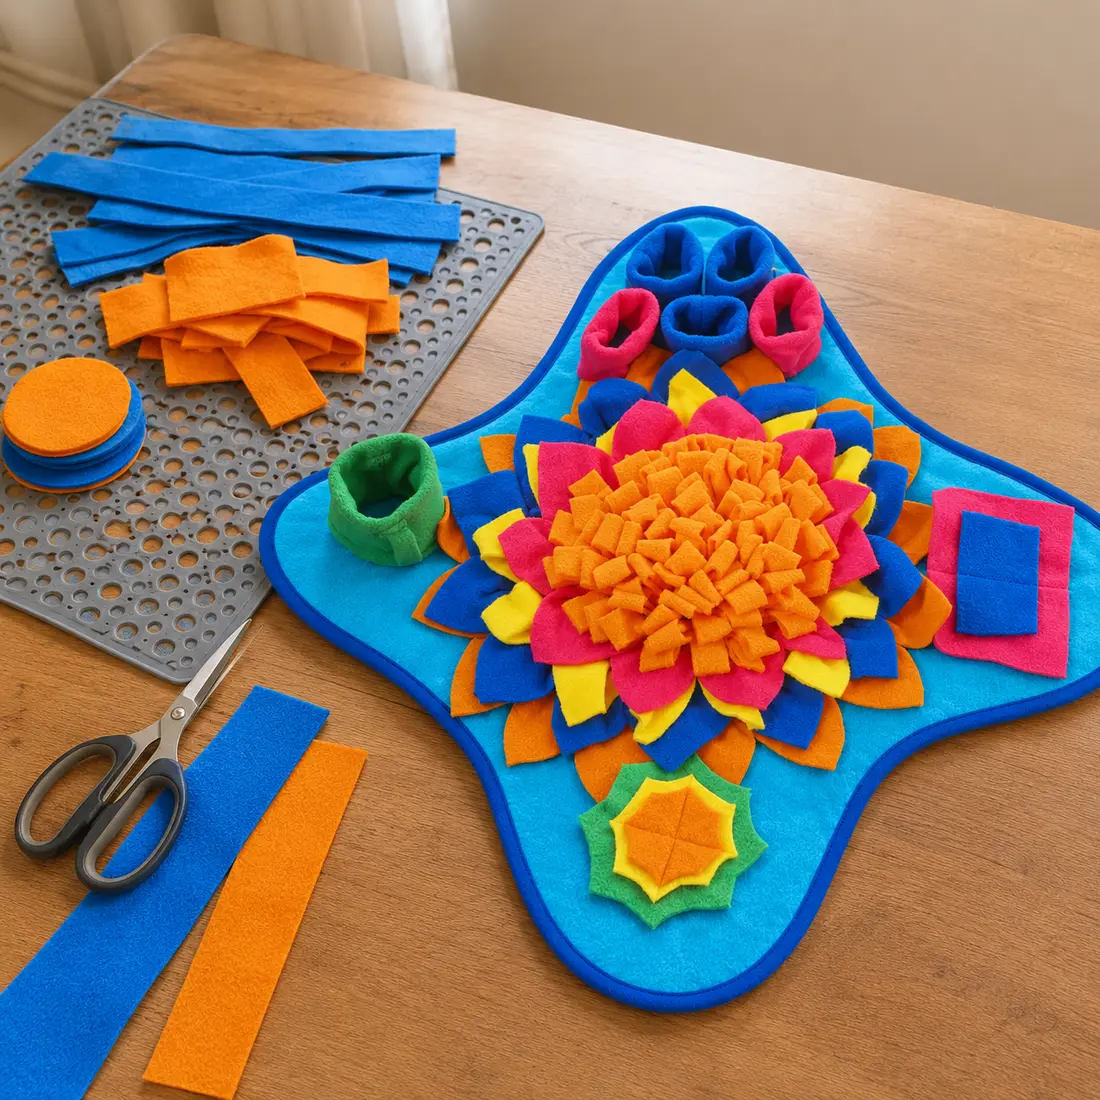
What you need
The whole project rests on two choices: a base with regular holes and the right fabric. Get those right and the rest is repetition. Get them wrong and you will be starting over. Here is the shopping list I give people, with the reasoning next to each item.
| Item | What to get and why |
|---|---|
| Base | A rubber anti-fatigue sink mat or a plastic pegboard-style grid. It needs evenly spaced holes to knot through. |
| Fabric | Polar fleece, about 1.5 to 2 yards in two or three colors. Fleece does not fray, which is the whole reason it works. |
| Scissors or rotary cutter | A rotary cutter and a self-healing mat make the cutting far faster than scissors alone. |
| A ruler or cutting guide | Consistent strip size keeps the finished surface even and dense. |
The fabric choice is the one people get wrong most often, so it is worth being firm about it. Use polar fleece and nothing else. Woven cotton, jersey and felt all fray, shed threads, or go limp once a dog starts nosing at them, and loose threads are a swallowing risk you do not want in a food toy.
Step by step
The method is a loop you will repeat a few hundred times: cut a strip, thread it through two neighboring holes, tie a single knot, move on. The rhythm is easy to learn and mildly meditative once your hands know it. Here is the sequence in order.
- Cut your strips. Aim for strips roughly one inch wide and seven inches long, which is about two to two and a half centimeters by seventeen or eighteen centimeters. Cut a big pile before you start tying so you are not switching tasks constantly.
- Work in rows. Starting at one edge, push both ends of a strip up through two adjacent holes in the base, then tie them in a single overhand knot on the top side. Keep the base flat on the table while you go.
- Fill every hole. Move along the row, then start the next one right beside it. Alternate colors if you like the look, though the dog does not care. Density is what matters, so pack the knots in tightly.
- Fluff and check. When the base is full, turn the mat over, make sure the underside sits flat, and rough up the fleece on top so the strips stand rather than lie down. Standing strips hide food better.
- Test it. Sprinkle a little kibble in and watch whether it disappears into the fabric or slides straight to the floor. If it slides, your strips are too short or too sparse, so add more.
Real time and cost
Here is the part most tutorials underplay. Tying a full, dense mat takes real time, and the figure is two to three hours for a first-timer working at a normal pace. If someone tells you twenty minutes, they either made a sparse mat or skipped the fluffing. The materials land somewhere between fifteen and twenty-five dollars, mostly depending on how much fleece you buy and whether you already own a suitable base.
None of that is a reason not to do it. A homemade mat can be a lovely rainy-afternoon project, especially with kids helping to tie knots. It is just worth setting your expectations honestly, because the gap between the imagined ten-minute craft and the real three-hour session is where a lot of half-finished mats end up in a drawer.
Common mistakes
Almost every disappointing DIY mat fails for one of a few reasons, and all of them are easy to avoid once you know them. I see the same short list come up again and again in classes.
- Strips too short. Short strips lie flat and leave nowhere for food to hide, so the dog clears the mat in seconds. Longer strips fold over on themselves and create the pockets that hold kibble.
- Fabric that frays. Woven cotton looks fine on day one and turns into a mess of loose threads by day three. Stick to fleece.
- Sparse tying. Leaving holes empty to save time produces a thin, patchy surface. Density is the difference between a five-second mat and a fifteen-minute one.
- A base with no grip. A light plastic grid slides across the floor while the dog pushes at it, which frustrates the dog and can end the game early. A heavier rubber base helps, though it is rarely as stable as a sewn non-slip backing.
of regular nose-work games was enough to make pet dogs measurably more optimistic on a cognitive bias test, which is the payoff a good mat delivers
— Duranton & Horowitz, Applied Animal Behaviour Science, vol. 211, 2019
What a homemade mat cannot do
A DIY mat and a manufactured one both hide food in fleece, so at the basic level they do the same job. The differences show up over weeks of real use, and they are worth naming plainly. Three gaps stand out.
First is structure. A hand-tied mat is a flat field of knotted strips. A purpose-built mat like ours is layered into a raised fleece flower with graduated petals and separate corner pockets, so food can be tucked at different depths and the search stays harder for longer. You can approximate layers by hand, but it is fiddly and rarely holds its shape.
Second is the wash. This is the big one. A homemade mat's knots loosen in the machine and a rubber sink base can warp or crumble, so most people end up spot-cleaning by hand, which is exactly what you do not want with a food toy that gets slobbered on daily. A mat engineered from shaker fleece with a sewn, non-slip base is built to go through the washing machine and come out intact. Because a food mat gets dirty fast, being able to wash it properly is not a luxury.
Third is the base. The sewn non-slip backing on a finished mat keeps it planted while an enthusiastic dog shoves at it, whereas a loose grid skates around the kitchen. If your afternoon of tying produces a mat you love, wonderful. If it produces a floppy square that will not wash and slides across the floor, the move is to say so, and that is where a ready-made Sniffgrove snuffle mat earns its place. For the wider picture of why these mats are worth using at all, see are snuffle mats good for dogs and the plain-language what is a snuffle mat explainer.
Common questions
What fabric is best for a DIY snuffle mat?
Polar fleece, without exception. It does not fray when cut, so the strips keep their shape and shed no loose threads for a dog to swallow. Woven cotton, jersey and felt all fray into strings and should be avoided in a food toy.
How much fleece do I need?
For a sink-mat base of around twelve by sixteen inches, plan on roughly one and a half to two yards of fleece in total. Splitting it across two or three colors makes it easier to tie in tidy rows and gives the finished mat a bit more depth.
Can you wash a homemade snuffle mat?
You can hand wash one or run it gently through the machine, but the knots tend to loosen over repeated washes and the rubber base can warp. If easy washing matters to you, and with a daily food toy it should, a sewn purpose-built mat holds up far better.
If you would rather skip the tying, our best snuffle mat guide compares the ready-made options, the dog enrichment ideas pillar shows where the mat fits among other activities, and real owners weigh in on the reviews page.
Machine washable · Non-slip sewn base · Free shipping